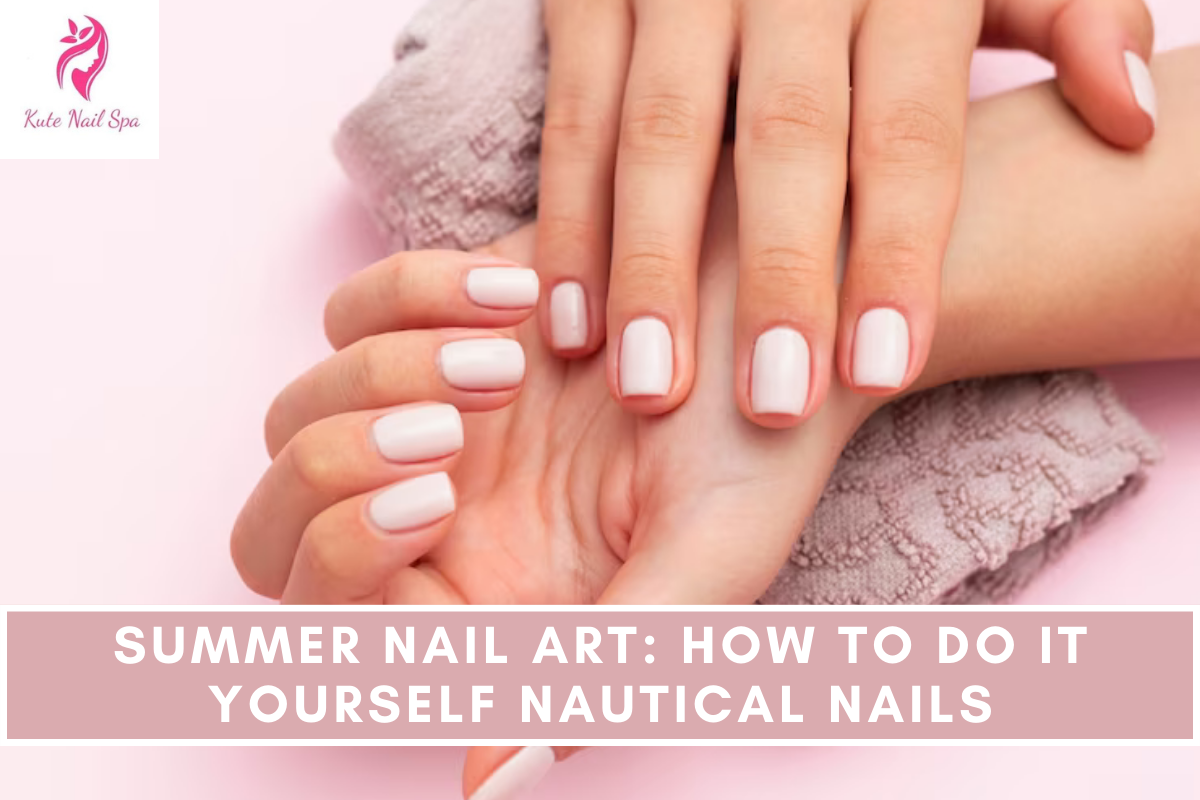
Summer Nail Art: How To Do It Yourself Nautical Nails:- Days spent sitting by the pool or on the beach look great in blue and white stripes. Get ready to match your OOTD for summer with this cool nautical nail art that you can do yourself!
Summer Nail Art: How To Do It Yourself Nautical Nails
Start This Summer Nail Art Tutorial With The Supplies:
- Navy-blue polish
- White strips
- Small scissors for cuticles
- Thin nail-art brush
- Top coat
Step 1
- After applying numerous layers of navy blue nail polish to the base of your nails, you should clean them off.
Step 2
- The white nail strips should be applied to your nails in a careful manner.

Also See:- Do It Yourself Water Marble Nail Art
Advertisement
Step 3
- Using cuticle nippers or small scissors, trim the strips so that they are as close to the edge of your nails as possible.
Step 4
- Make a little pattern on your nail in the shape of a heart by using a nail art brush that is somewhat thinner.
- Make sure that your thin nail art brush is clean, and then dip it in red nail polish.
- Create a design in the shape of a heart by placing two little dots next to each other in a careful manner.
Step 5
- Bear in mind that you need to apply your top coat! Voilà, you’ve finished everything!
- Utilize this amazing do-it-yourself nautical nail design to make the most of your sunny day. It is ideal for beach parties and drinking cocktails by the pool.
If you like this articles about Summer Nail Art: How To Do It Yourself Nautical Nails please share with your friends and family members.
Advertisement