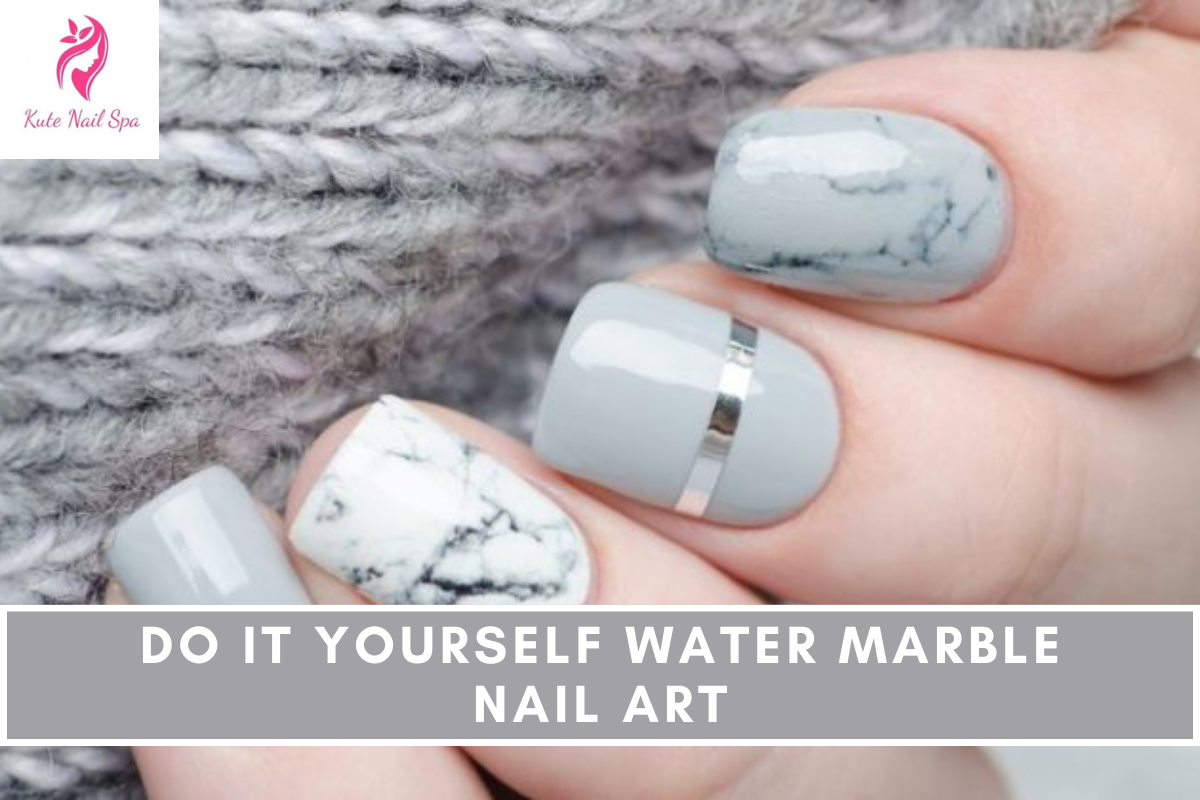
Do It Yourself Water Marble Nail Art:- Trust me, making your own water marble nail art is not as hard as it looks. Have you ever done water marble nail art? This method is very interesting, but many people are afraid to try it because they think it will be hard to copy. It’s beautiful and stands out, but it can get messy sometimes. Here’s a step-by-step guide from Alps Nail Art on how to do water marble nail art without making a mess.
Do It Yourself Water Marble Nail Art
DIY Water Marble Nail Design
You’ll need
- A couple of nail polishes
- Water
- Small cup
- Toothpick
- Brush
- Cuticle pusher
- Scissors
Step 1
- First, you allow a drop of water to fall into the water.It is expected that the shine would spread out across the surface and ultimately form a thin coating as it drips. Select the next nail polish that you want to use straight away. For the first nail colour, you should aim for the midway mark.
Step 2
- Use a toothpick to create a pattern by dragging it through the colours in a steady and gentle manner. From the center pull outward in a circular motion. Try to have some fun with this portion, and be creative. The ‘proper’ technique to complete this step is not applicable.

Also See:- Nails: How To Make Them Grow Faster And Longer
Advertisement
Step 3
- Allow the design to dry for four to five hours. Allow them to dry overnight for the best possible outcomes. Construct ten swatches for your nail polish.
Step 4
- Applying a fan brush or any other broad, flat instrument, carefully lift the dried water marble swatch once it has reached the desired level of dryness. You should not be concerned if the outer layer breaks because we will not use it.
Step 5
- When your nails are clean, apply a white nail paint to them. Do not leave it till it has totally dried out. For the swatches to adhere to the nails, it is necessary for the nails to have a small sticky quality. Use a cuticle pusher or an orange wood stick to apply pressure to your nail in order to apply your marble swatch.
Step 6
- Cutting off the edges with a pair of little scissors will help you clean them up. Then, wait for it to dry before applying a top coat to seal it. Also, you are finished! Your other nails will require you to repeat the same steps.
- This tutorial was enjoyable, wasn’t it? Now that you have access to this cutting-edge how-to, you can join the trend! In addition, you won’t require any brushes, dotting tools, rhinestones, or anything else of the sort. Have a good time!
If you like this articles about Do It Yourself Water Marble Nail Art please share with your friends and family members.
Advertisement